Monitoring7 min read
WordPress visual regression testing before and after updates
Use WordPress visual regression testing to catch layout breaks after updates, stabilize screenshots, review diffs, and approve baselines safely.
 By Hamza Ahmad AslamWordPress VIP, Performance & Full-Stack Engineer
On this page
- What WordPress visual regression testing catches
- Which pages and breakpoints should represent the site
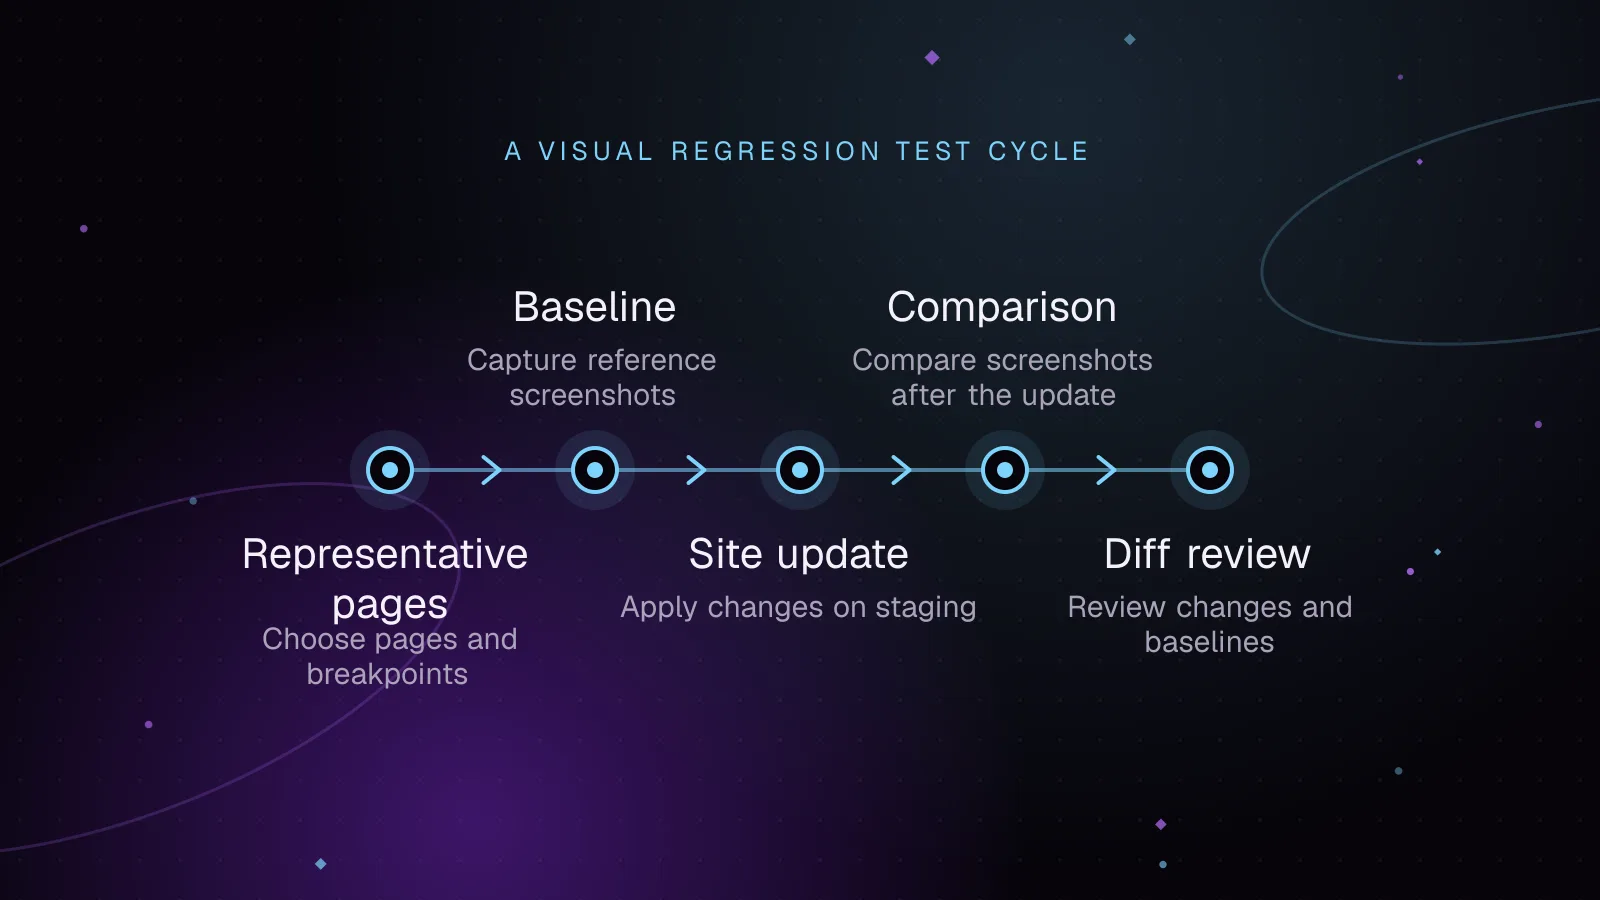
- How to take a baseline and compare after an update
- How to stop flaky screenshots
- Mask content that changes without moving the layout
- Keep staging data predictable
- Wait for web fonts
- Control animations and cookie banners
- Use the same rendering environment
- How visual tests fit into the staging update routine
- How to review diffs and update baselines deliberately
- What to do next
- Frequently asked questions
Short answer: WordPress visual regression testing takes reference screenshots of important pages, repeats them after an update, and flags visual differences for review. It catches broken layouts, missing styles, shifted controls, and other front-end regressions that an uptime check can miss.
What WordPress visual regression testing catches
An uptime check can tell you that a page responds. It cannot tell you that the navigation wrapped, a product image moved, or a checkout button is covered by another element.
Visual regression testing compares a current screenshot with an approved baseline. The useful output is more than pass or fail. You can inspect the expected image, current image, and a diff that highlights visual changes.
It is useful after theme, plugin, WooCommerce, browser, or CSS changes. It can:
- Detect shifted grids, broken spacing, missing icons, and unexpected text wrapping.
- Catch stylesheets or web fonts that did not render as expected.
- Expose banners or widgets that cover controls.
- Show responsive layout changes that appear only on smaller screens.
- Flag template changes on pages that still return a successful response.
Keep availability monitoring as a separate signal. Screenshot comparison for WordPress tells you what the rendered page looks like. Availability checks tell you whether it can be reached.
Which pages and breakpoints should represent the site
Do not screenshot every URL. Pick pages that exercise different templates and components.
A WordPress set might include the home page, a content page, a post, an archive, and search results. A WooCommerce site should also cover the shop, a product, cart, and checkout. Add account or logged-in states only when those views matter to the release.
Choose pages because they represent layouts. Several URLs using the same template and components rarely need separate visual tests.
For responsive coverage, test the points where the layout changes. Playwright can run the same test through named device profiles. Its device emulation documentation (opens in a new tab) explains that these profiles can define viewport, screen, user agent, and touch behavior.
Named profiles also keep arbitrary viewport values out of individual tests. Start with desktop and mobile profiles that represent the layouts you support. Add another project when a component has a distinct intermediate layout that needs protection.
How to take a baseline and compare after an update
Playwright Test can create and compare screenshots with toHaveScreenshot(). The official Playwright visual comparison documentation (opens in a new tab) warns that screenshot rendering can vary with operating system, browser build, hardware, and other environment details.
Generate the baseline and compare future screenshots in the same environment.
For a new Playwright Test project, the documented setup command is:
npm init playwright@latest
The official Playwright project repository (opens in a new tab) also documents npx playwright test for running tests.
Use named projects for your target layouts. The following config makes the screenshot rules visible rather than relying on implicit defaults.
Playwright documents threshold: 0.2 as the default per-pixel color difference threshold. maxDiffPixels and maxDiffPixelRatio are unset by default, so this config leaves them unset.
import { defineConfig, devices } from '@playwright/test';

export default defineConfig({
  use: {
    baseURL: process.env.BASE_URL,
  },

  expect: {
    toHaveScreenshot: {
      animations: 'disabled',
      caret: 'hide',
      scale: 'css',
      threshold: 0.2,
    },
  },

  projects: [
    {
      name: 'desktop-chrome',
      use: { ...devices['Desktop Chrome'] },
    },
    {
      name: 'mobile-safari',
      use: { ...devices['iPhone 12'] },
    },
  ],
});
Set BASE_URL to the staging site in your shell or CI environment. Then create the initial references:
npx playwright test
The first run is expected to fail for screenshots that have no reference yet. Playwright writes the actual image as the new reference while reporting that the snapshot did not exist. Inspect those generated reference images before committing them.
After a WordPress, plugin, theme, or WooCommerce update, run the same command against the same staging environment.
For visual testing after a plugin update, a changed screenshot should stop the test and leave artifacts you can inspect.
Example output below is illustrative. Exact paths depend on the test and project configuration.
Expected: tests/home.spec.js-snapshots/home-desktop-chrome-linux.png
Received: test-results/home-home-page-visual-desktop-chrome/home-actual.png
Diff:     test-results/home-home-page-visual-desktop-chrome/home-diff.png
Treat that failure as a review request. Do not approve a new baseline until you know why the page changed.
How to stop flaky screenshots
Flaky screenshots usually come from content or rendering that changes between runs. Remove that variation before allowing more image differences.
Mask content that changes without moving the layout
toHaveScreenshot() accepts locators in its mask option. Use masks for live counters, rotating labels, or similar values whose containers remain stable.
import { test, expect } from '@playwright/test';

test('home page visual', async ({ page }) => {
  await page.goto('/');

  await page.evaluate(() => document.fonts.ready);

  await expect(page).toHaveScreenshot('home.png', {
    fullPage: true,
    mask: [
      page.locator('[data-visual-dynamic]'),
      page.locator('.rotating-promo'),
    ],
  });
});
A mask covers the selected boxes in the screenshot. It does not stop those elements from changing the page layout.
If a widget grows, collapses, or pushes other content, control its data instead. A test-only screenshot stylesheet is another option when the whole widget should be hidden during comparison.
Keep staging data predictable
Use stable fixture content for visual tests. Avoid pages whose output depends on random posts, current timestamps, rotating ads, uncontrolled recommendations, or changing third-party responses.
For WooCommerce, choose known products and maintain the catalog state required by the test. If you need to test a changing component, give it a controlled state instead of accepting a different screenshot on each run.
This matters more than increasing the comparison tolerance. A test cannot tell you much if its input changes every time.
Wait for web fonts
Fallback fonts can change line breaks, element widths, and page height. A screenshot taken before the intended fonts finish loading can therefore create a misleading diff.
The browser's document.fonts.ready promise resolves after required font loading and related layout work complete. The behavior is documented in the MDN FontFaceSet ready reference (opens in a new tab).
That is why the example waits for document.fonts.ready before toHaveScreenshot().
Waiting does not repair a failed font request. The same font files still need to be available from staging and from the test environment.
Control animations and cookie banners
For toHaveScreenshot(), Playwright documents disabled animations, hidden text carets, and CSS-pixel scaling as defaults. The config repeats those settings so another maintainer can see the intended policy.
Cookie banners need a predictable state too. Start visual runs with the same consent state. If the banner itself needs coverage, create a separate test for that state.
Apply the same approach to chat launchers, geolocation prompts, personalization, and experiment variants. Control their state, mask a stable region, or keep them outside the visual assertion.
Use the same rendering environment
Do not generate approved screenshots on one machine and routinely compare them in another environment.
Browser and operating system differences can create pixel changes even when the WordPress code is unchanged. Keep baseline creation and update testing on the same CI image or container.
When the browser or test environment needs an upgrade, make that a deliberate change. Run the visual suite, inspect the resulting diffs, then approve new references only after the site still renders correctly.
How visual tests fit into the staging update routine
Run the suite on staging before an update reaches production. Keep the order consistent:
- Deploy the currently approved site state to staging.
- Run the screenshot suite and confirm the existing baseline still passes.
- Apply the intended WordPress, plugin, theme, or WooCommerce update.
- Run the site's functional checks for actions such as forms, search, cart, or checkout.
- Run the screenshot suite in the same rendering environment.
- Review every changed page before approving the release.
The same Playwright project can run those functional checks, and the guide to Playwright testing for WordPress editor, admin and checkout flows shows how to structure them.
For agencies, keep each site's page set, selectors, and screenshot policy in version control with that site. A shared runner is useful, but the actual visual contract should match each build.
BackstopJS is another option for screenshot comparison. The official BackstopJS repository (opens in a new tab) documents reference screenshots, comparisons, reports, and baseline approval.
An existing BackstopJS WordPress suite still needs the same controls. Keep its data, fonts, dynamic regions, consent state, and rendering environment stable.
How to review diffs and update baselines deliberately
Open the expected, current, and diff images together. Looking only at the diff can make small rendering noise difficult to interpret.
Classify the cause before approving anything. An intended spacing change from a design update belongs in the new baseline. A button pushed outside its container is a regression. A different product appearing because staging data changed means the test input needs fixing.
Once you have confirmed that the new rendering is correct, Playwright documents this command for updating reference screenshots:
npx playwright test --update-snapshots
Review the changed image files in version control just as you review code. A baseline is part of the test. Replacing it without checking the diff removes the evidence that the test was meant to protect.
Do not solve flaky screenshots first by allowing a large changed area. Fix unstable data, fonts, animations, consent state, and the rendering environment. Adjust comparison tolerance only when the remaining difference is understood.
What to do next
Put visual checks beside the rest of the release process rather than replacing other monitoring. Use the WordPress uptime monitoring guide for availability, then apply the approach for monitoring many WordPress sites when the same process covers a larger site portfolio.
If update testing, monitoring, and release review need ongoing ownership, the WordPress maintenance and security service covers that maintenance work.
Frequently asked questions
What is the difference between visual regression testing and screenshot testing in WordPress?
Screenshot testing is the mechanism that captures a rendered page. Visual regression testing adds an approved baseline, repeatable comparison, and review process so a changed screenshot becomes a release signal rather than just an image.
Why do Playwright screenshots fail when the page looks unchanged?
Flaky screenshots often come from fonts, browser builds, operating systems, animations, dynamic data, consent banners, or third-party widgets. Use the same rendering environment and control unstable page content before changing comparison thresholds.
Should I use Playwright or BackstopJS for WordPress visual testing?
Both can compare current screenshots with approved references. Playwright fits well when the same suite also performs browser actions and functional tests, while BackstopJS focuses on visual comparison workflows.
Should visual baselines be updated after every plugin update?
Update a baseline only after reviewing the diff and confirming that the new rendering is intended. If an update produces no intended visual change, keep the existing baseline.
Share this article
Enjoyed this? Get the next article by email.
Keep reading
 Monitoring
5 min read
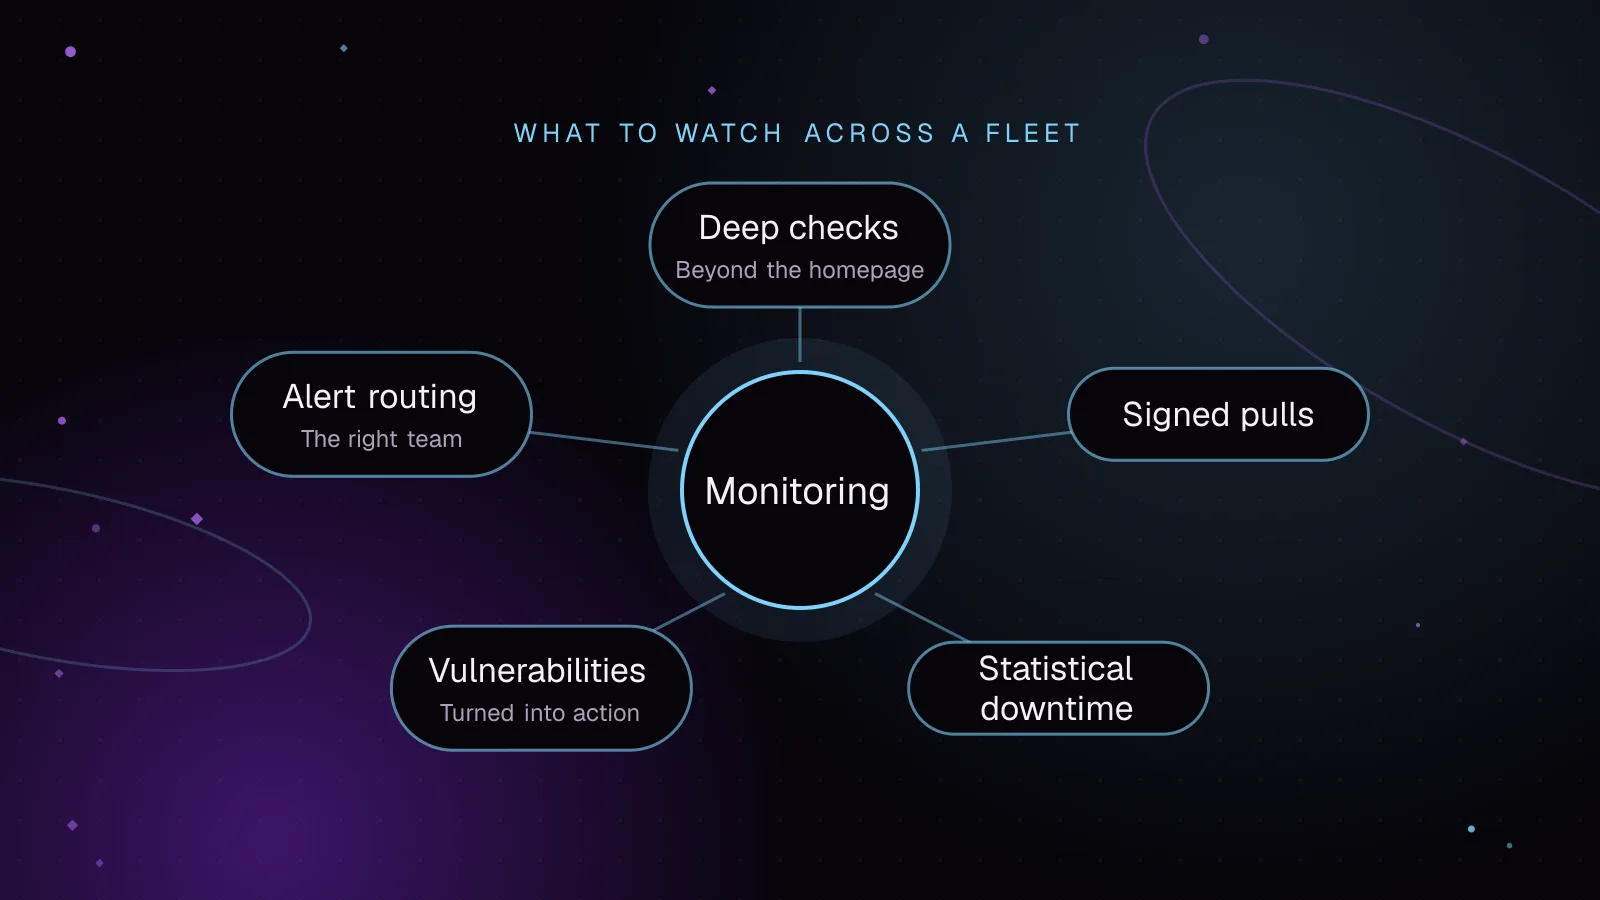
How to monitor WordPress sites without alert fatigue
Monitor WordPress sites with signed agent requests, vulnerability checks and alerts grouped by severity. Lessons from building Fleet Sentinel.
- WordPress
- Monitoring
- Security
 Monitoring
7 min read
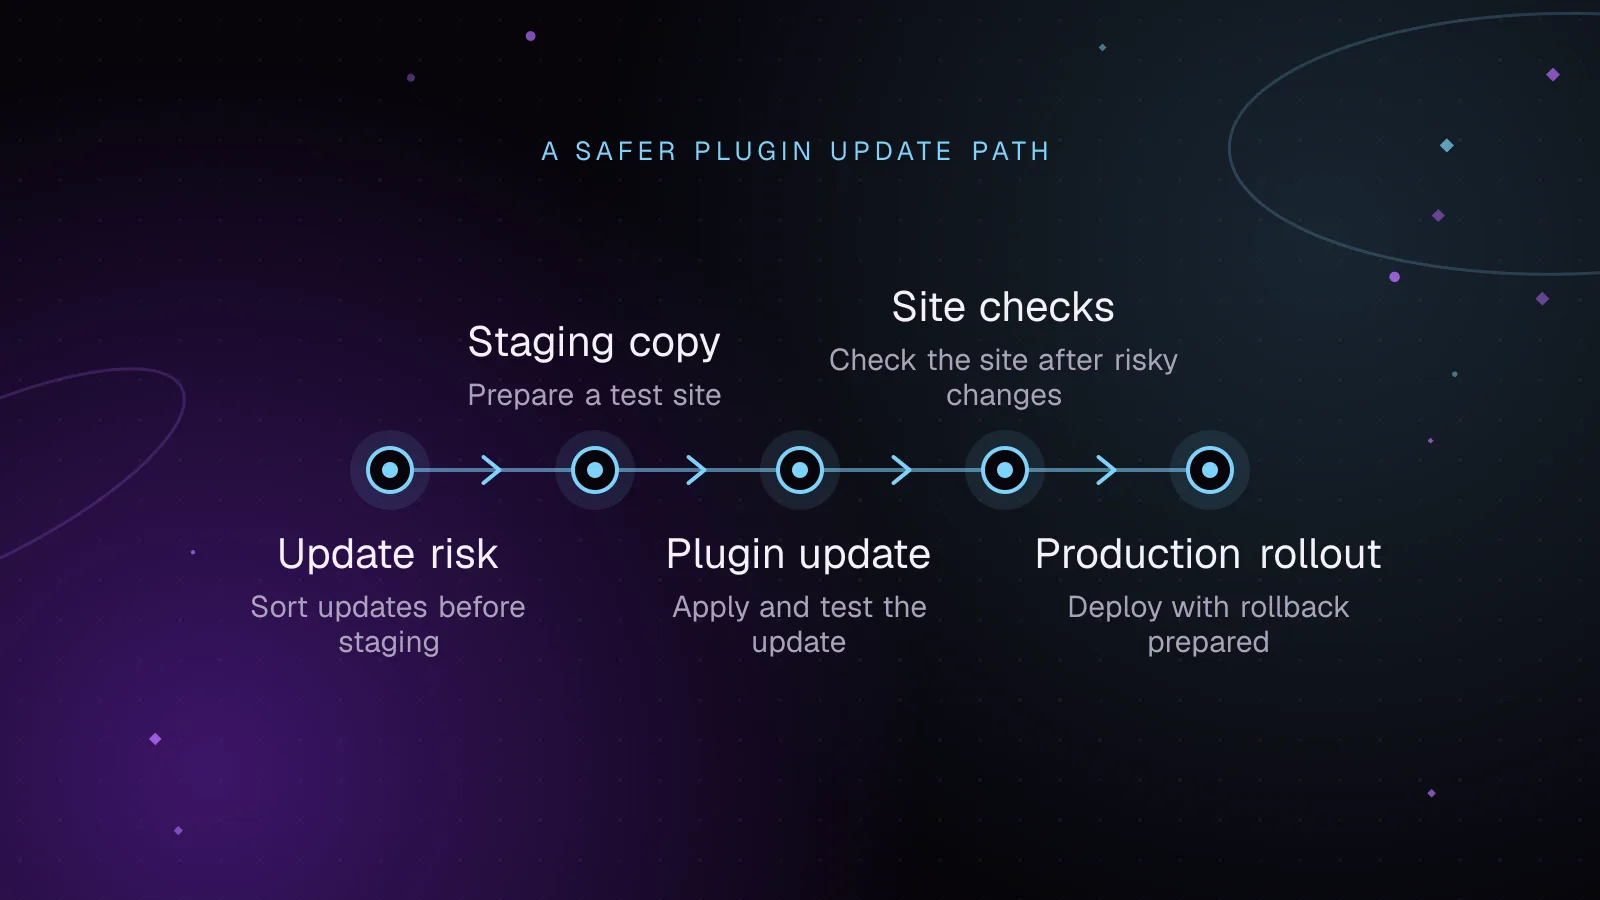
How to test WordPress plugin updates before they reach production
Test WordPress plugin updates on staging, check key site flows, deploy one change at a time, and roll back cleanly if an update causes trouble.
- WordPress
- Plugins
- Monitoring
 Monitoring
8 min read
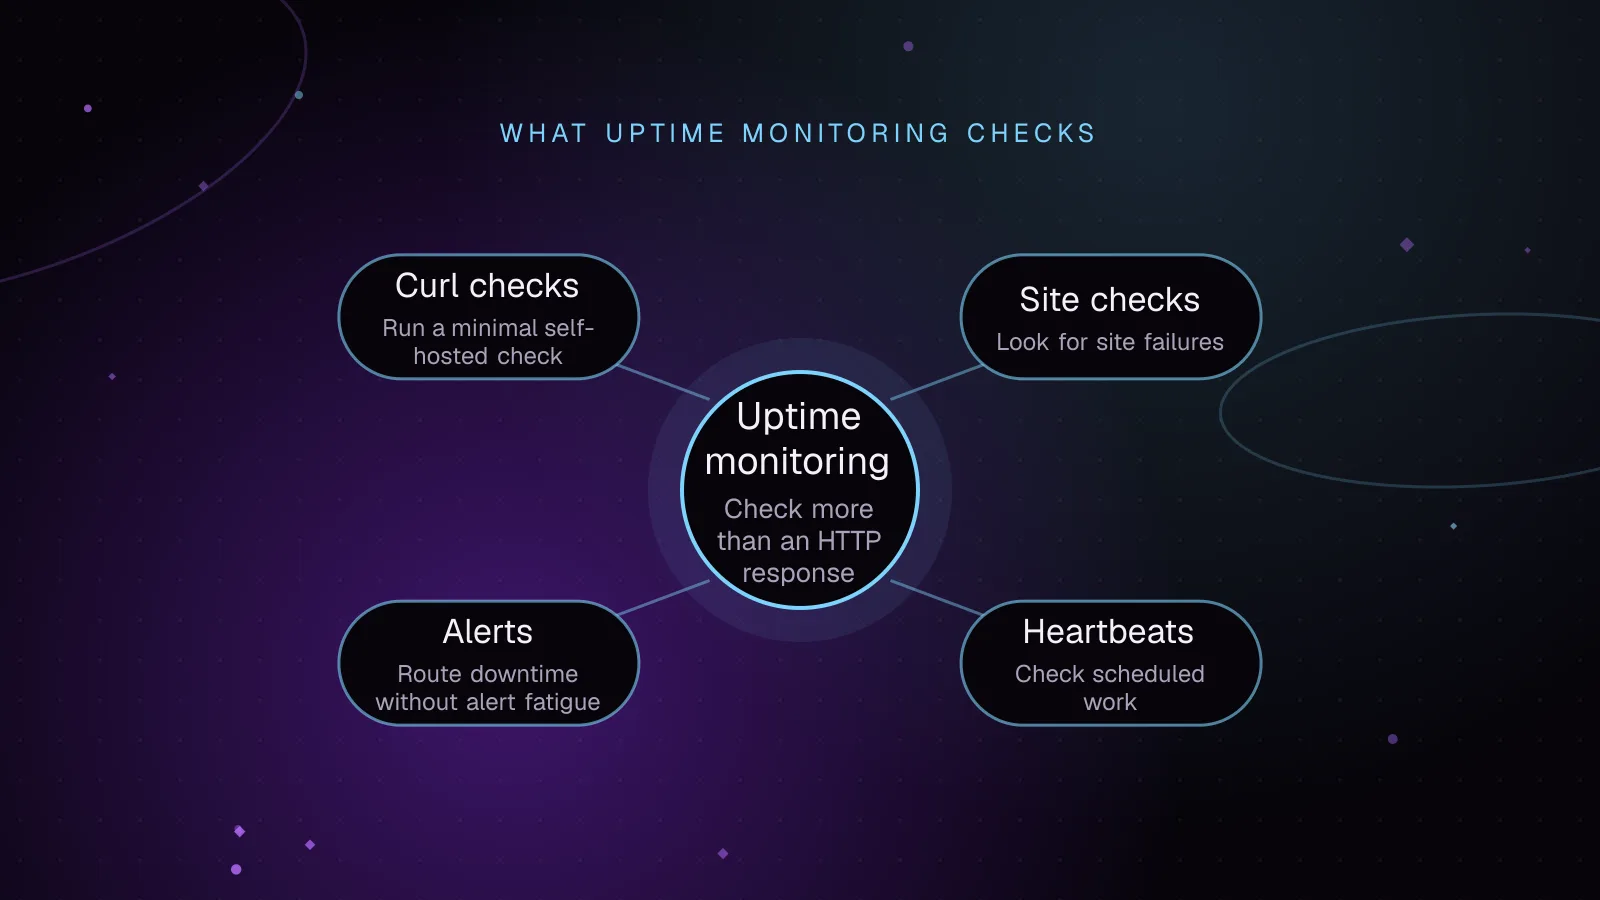
WordPress uptime monitoring: checks that catch site failures
Set up WordPress uptime monitoring that checks key pages, content, checkout, TLS, cron heartbeats and alerts so visitor-facing failures get caught.
- WordPress
- Monitoring
- Uptime